1. Water source
Roof runoff, grading, groundwater, plumbing leaks, and condensation are evaluated before the floor is covered.
Crawl space encapsulation contractors in Atlanta
Redline Restorations designs crawl space encapsulation around the source of water and humidity—not a one-size-fits-all product package. Every scope begins with inspection, photographs, and a written plan.
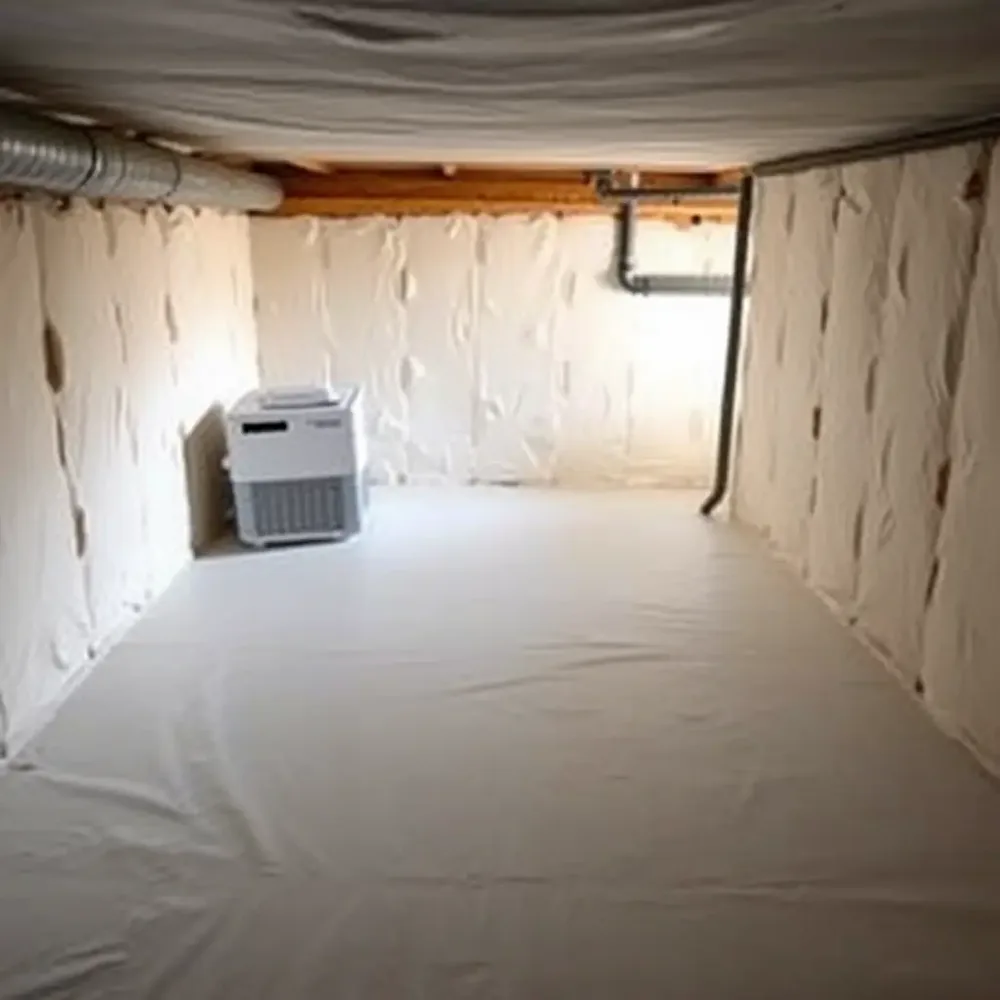
Crawlspace encapsulation creates a continuous air-and-vapor boundary across the exposed ground and, when the design requires it, along walls, piers, seams, vents, and access openings. Drainage and bulk-water corrections come first. Humidity control and insulation decisions follow after the space is prepared and sealed.
What encapsulation does
Open crawl spaces are exposed to soil moisture, outside air, plumbing leaks, drainage problems, and temperature differences that can create condensation. Encapsulation changes that environment by defining a sealed boundary beneath the home.
The finished system should not hide unresolved water. It should work with drainage, air sealing, insulation, and dehumidification so each part has a clear purpose.
What a complete system can include
Roof runoff, grading, groundwater, plumbing leaks, and condensation are evaluated before the floor is covered.
Debris, damaged insulation, loose plastic, sharp materials, and obstructed service areas are addressed in the written scope.
The proposal should identify exactly where the liner starts, where it stops, and how walls and piers are treated.
Overlaps, posts, pipes, drains, and irregular edges determine whether the boundary is continuous.
Vents, doors, rim areas, and penetrations are considered so humid air does not bypass the new liner.
A dehumidifier, sump, condensate line, or other equipment needs a clear purpose and dependable discharge route.
Plumbing valves, HVAC equipment, drains, and inspection routes should remain reachable after the project is complete.
The installation sequence matters
We document moisture, water paths, insulation, ducts, framing, access, vents, and visible growth.
Loose debris and materials included in the scope are removed so the liner can be installed cleanly.
Drainage, sump, downspout, grading, or repair recommendations are handled before sealing where necessary.
The floor, walls, piers, seams, penetrations, vents, and access points are addressed.
A dehumidifier is installed only when the space requires active drying, with a reliable drain route.
We review the finished system, equipment settings, maintenance, and areas that must remain accessible.
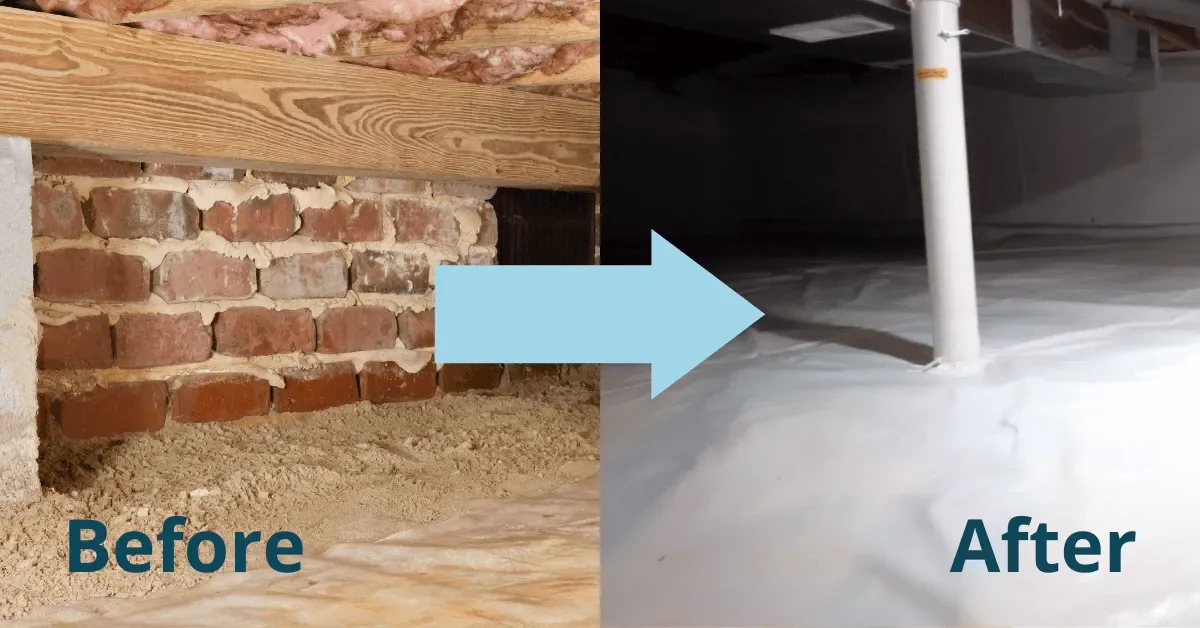
Signs to schedule an inspection
Encapsulation questions
Use the free inspection to compare complete scopes—not just liner thickness or a single price.
Schedule an InspectionHomeowners often use the terms crawlspace encapsulation and basement crawl space encapsulation when researching moisture control. The label matters less than the scope: ground vapor, foundation walls, vents, access doors, water entry, drainage, humidity, and insulation must be evaluated as one connected system.
The exact scope varies, but a complete system commonly includes preparation, a sealed floor and wall liner, vent and penetration sealing, and a plan for drainage and humidity. Insulation and remediation are added when needed.
No. Plastic on the soil is a basic vapor barrier. Encapsulation treats the crawl space as a system by sealing edges, seams, walls, piers, vents, and penetrations and by addressing water and humidity.
Yes. Active water should be traced and controlled before the final liner is installed. Otherwise, water may collect below the system or create pressure at walls and seams.
Project length depends on size, access, cleanup, drainage, remediation, and equipment. Many straightforward projects take several working days, while more involved spaces take longer.
A clean sealed crawl space is easier to inspect and may be suitable for limited storage, but items should not block equipment, drains, plumbing, electrical components, termite inspection gaps, or access routes.
The phrases are commonly used for related moisture-control work, but every home is different. A house may have a full crawl space, a basement with an adjoining crawl space, or several separated areas. The inspection should define exactly which areas are included and how water, vapor, air leakage, humidity, and insulation will be handled.
Anatomy of the finished system
The bright floor is the most visible part, but long-term performance depends on details that are easier to overlook.
The soil is cleared and graded as required, then covered with a durable liner that is fitted around the real shape of the crawl space. Seams and penetrations are sealed so vapor does not simply move around the material.
Wall and pier coverage reduces exposed masonry and creates a more continuous boundary. Attachment methods should be secure while preserving required inspection areas and access.
A sealed crawl space cannot remain open to outside air through foundation vents, loose access doors, pipe openings, and wiring penetrations. These areas are part of the air-sealing plan.
Liquid water is collected, redirected, or pumped before it is hidden by the finished system. Sump lids, alarms, discharge routes, and maintenance access should remain clear.
A dehumidifier or conditioning method is selected only after water and air leakage are addressed. Capacity, placement, drainage, power, and filter access are part of the installation.
Wet or failing insulation may be removed. The final thermal boundary must match whether the crawl space remains vented or becomes an unvented, controlled space.
Common shortcuts
A clean photograph does not prove that the water path was corrected. Problems can remain below the liner, behind insulation, at the access door, or inside an unserviced dehumidifier drain.
Before signing
The proposal should show what surfaces are covered, which openings are sealed, where water goes, how humidity is controlled, and what remains outside the scope. It should also explain which work happens before the liner is installed.
Use our encapsulation versus vapor barrier guide and cost comparison checklist when reviewing estimates.
Request a Written Encapsulation ScopeProject timing
A simple ground-cover replacement and a full remediation, drainage, encapsulation, dehumidifier, and insulation project should not have the same schedule. Tight access, multiple chambers, debris, standing water, electrical work, plumbing repairs, and drying time can all change the sequence.
The written proposal should identify work that must be completed by another trade and whether that work occurs before or during the crawl-space project.
Living in the home during work
Many projects can be completed while the home remains occupied, but the access location, debris route, containment, cleaning method, noise, equipment, and occupant sensitivities should be discussed before work begins. Children and pets should remain away from the work and access area.
When encapsulation is not the first step
Encapsulation reduces ground vapor and outside-air leakage, but it does not repair a plumbing leak, redirect a downspout, correct a failed drain, or stop bulk water by itself. If liquid water is entering, the proposal should explain how that water will be controlled and where it will discharge.
The same rule applies to wet materials and visible growth: removal or cleanup should be coordinated with moisture correction so the new system is installed over a prepared, inspectable surface.