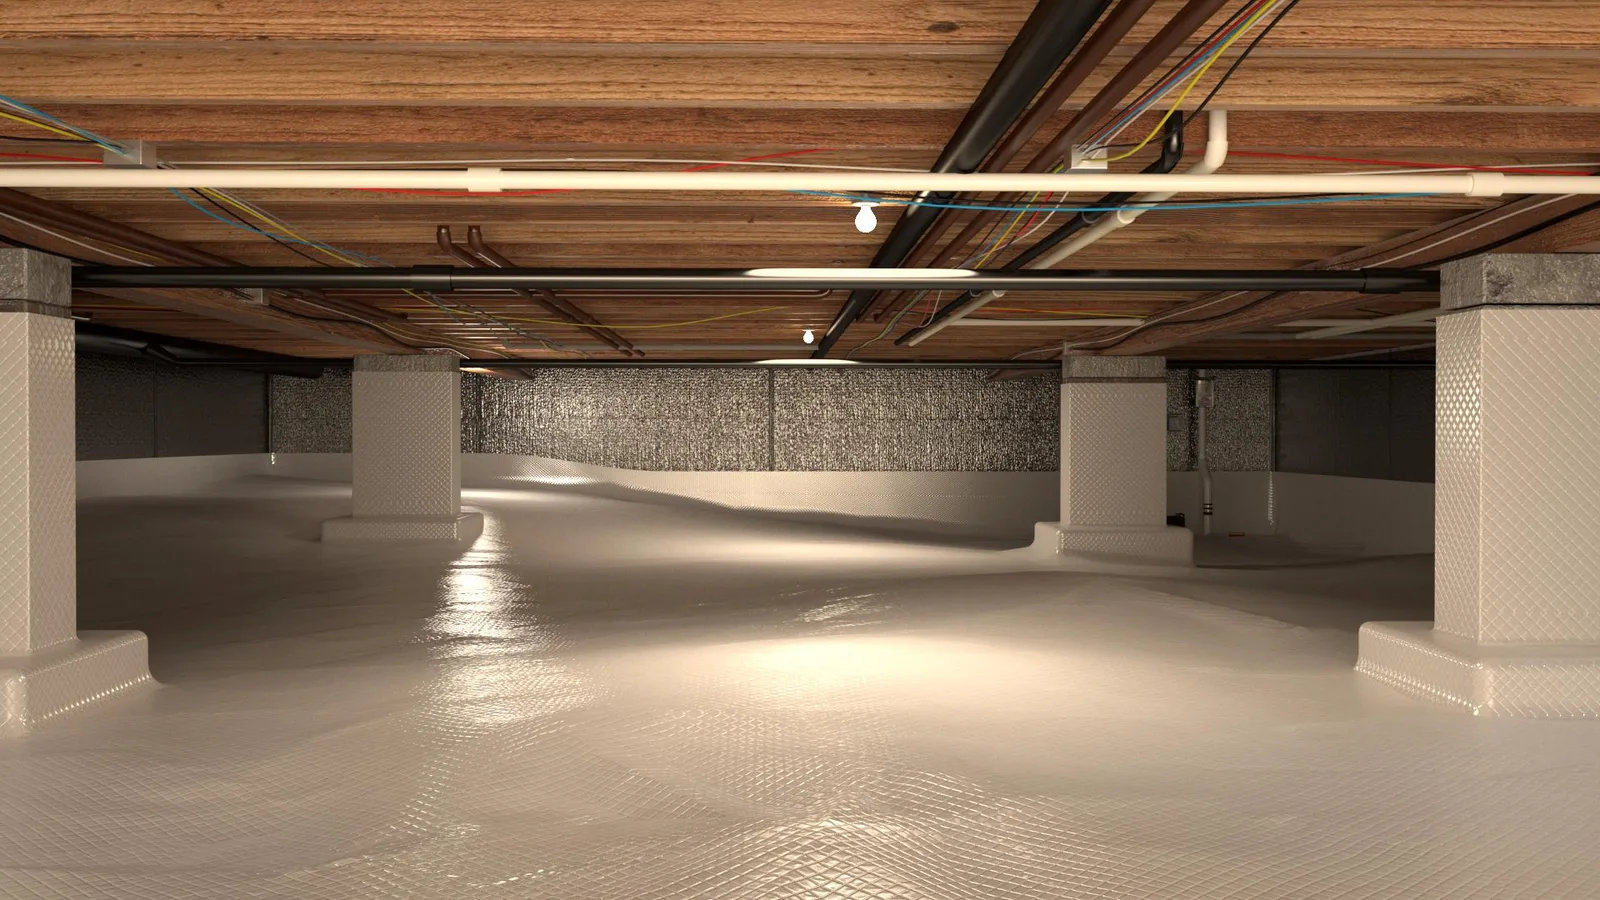
Completed encapsulation with a bright, continuous liner
A finished system should be clean enough to inspect and service.
Crawl space project gallery
Use these images to understand the difference between an unfinished crawl space, a basic barrier, remediation preparation, and a complete sealed system.
Request an Inspection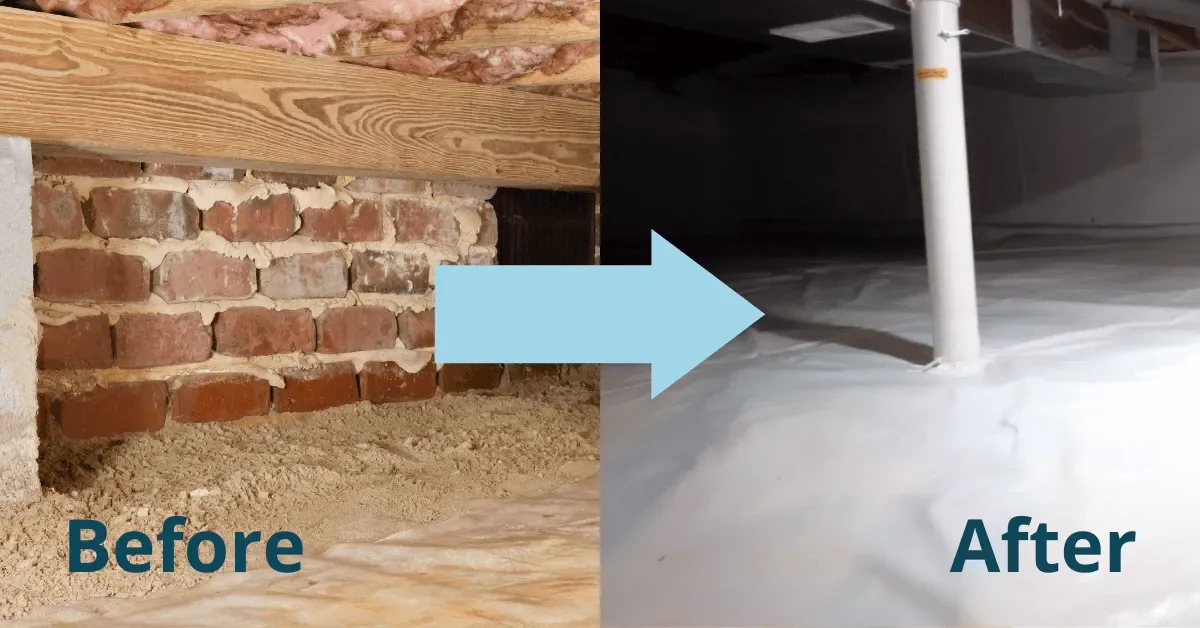
A finished system should be clean enough to inspect and service.
Project planning should address preparation, sealing, and moisture control.
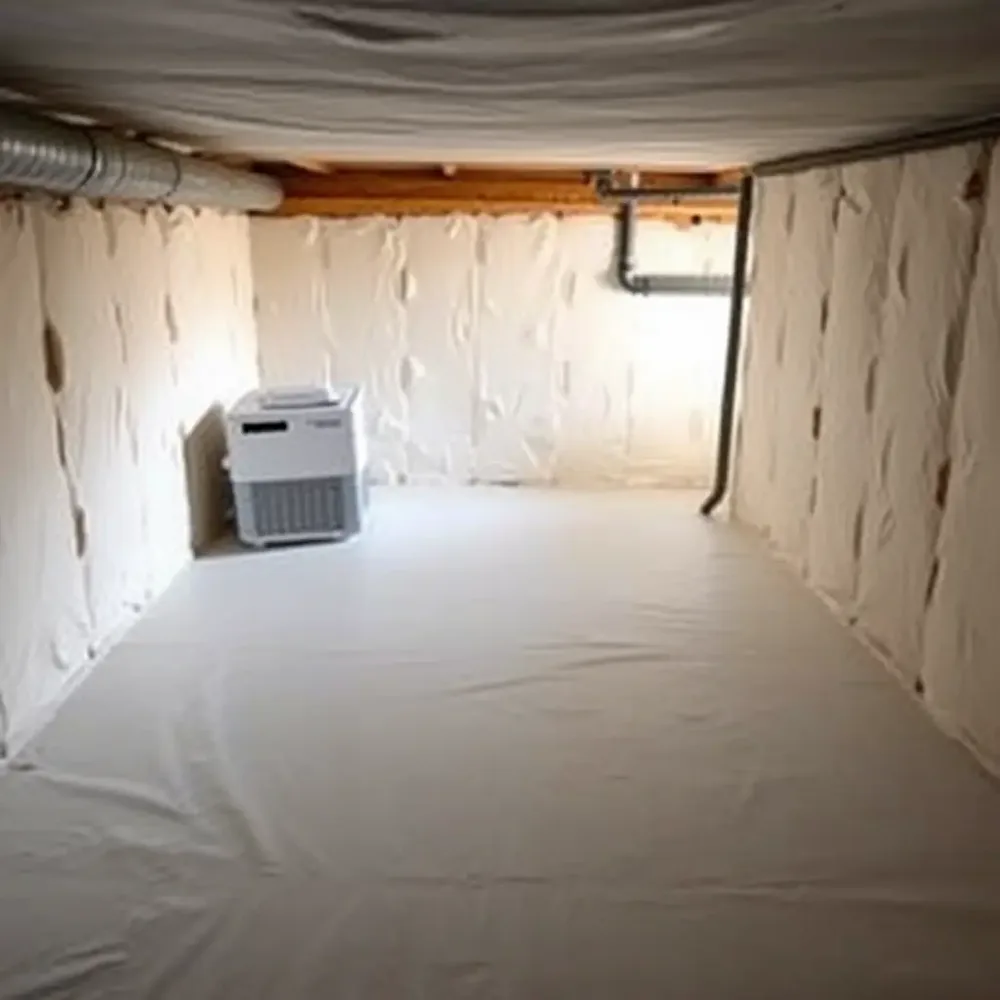
Wall coverage and sealed transitions distinguish full encapsulation from floor-only plastic.
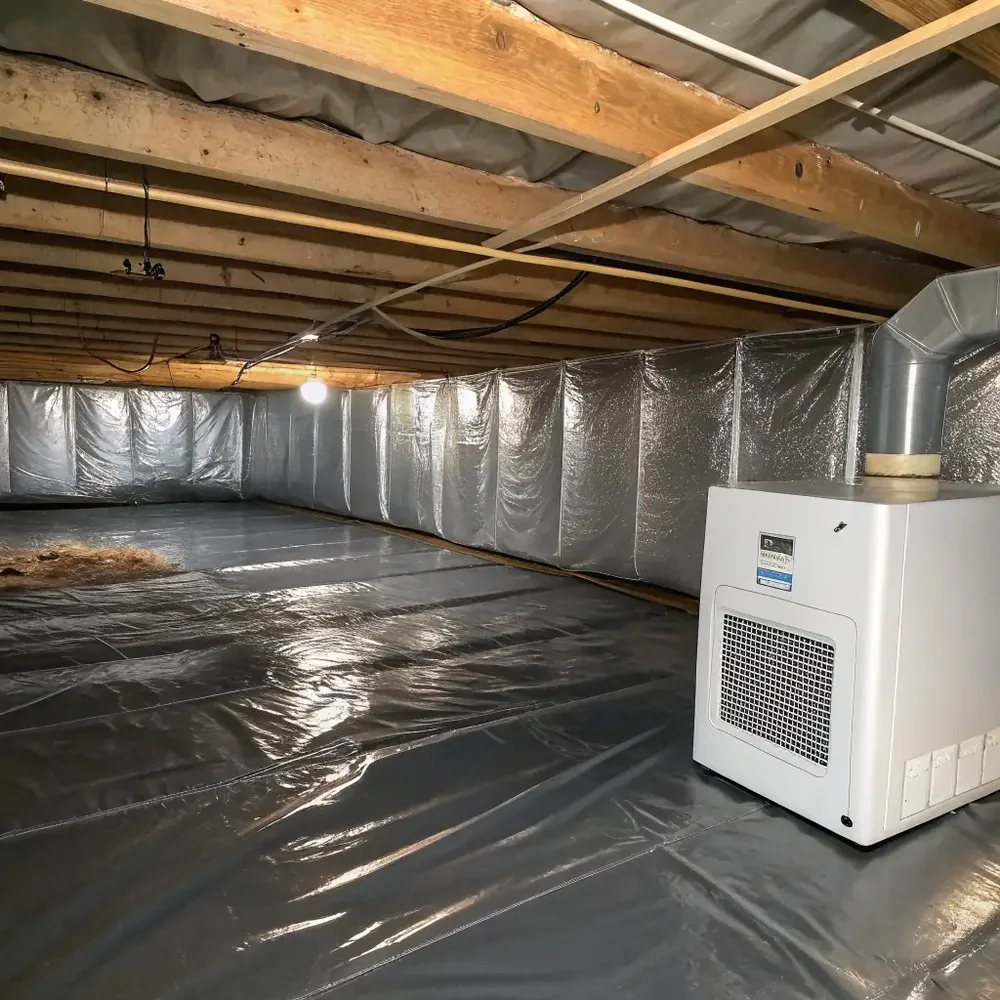
Equipment needs airflow, drainage, power, and service access.
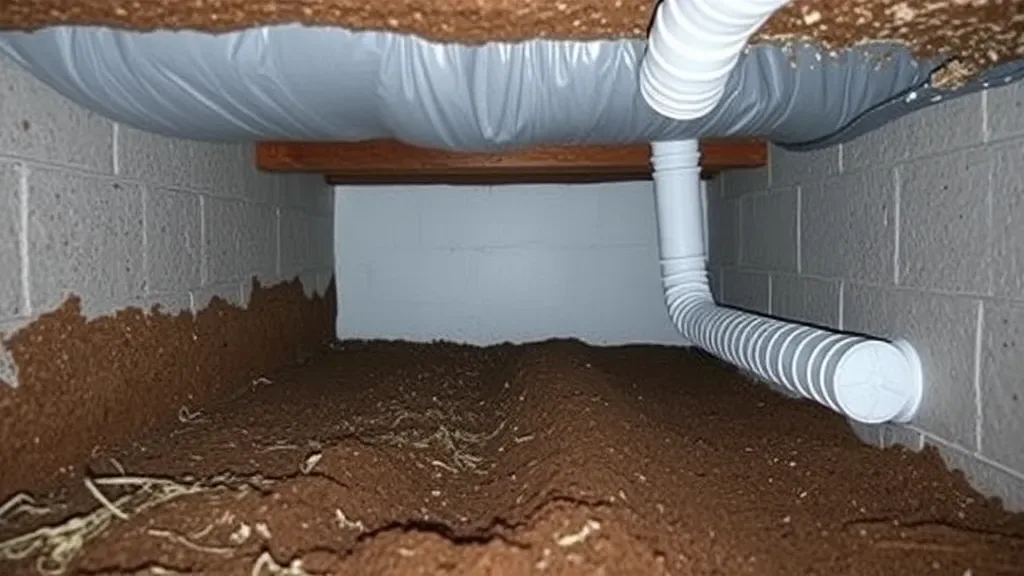
The inspection looks for water paths, insulation, debris, vents, ducts, and framing conditions.
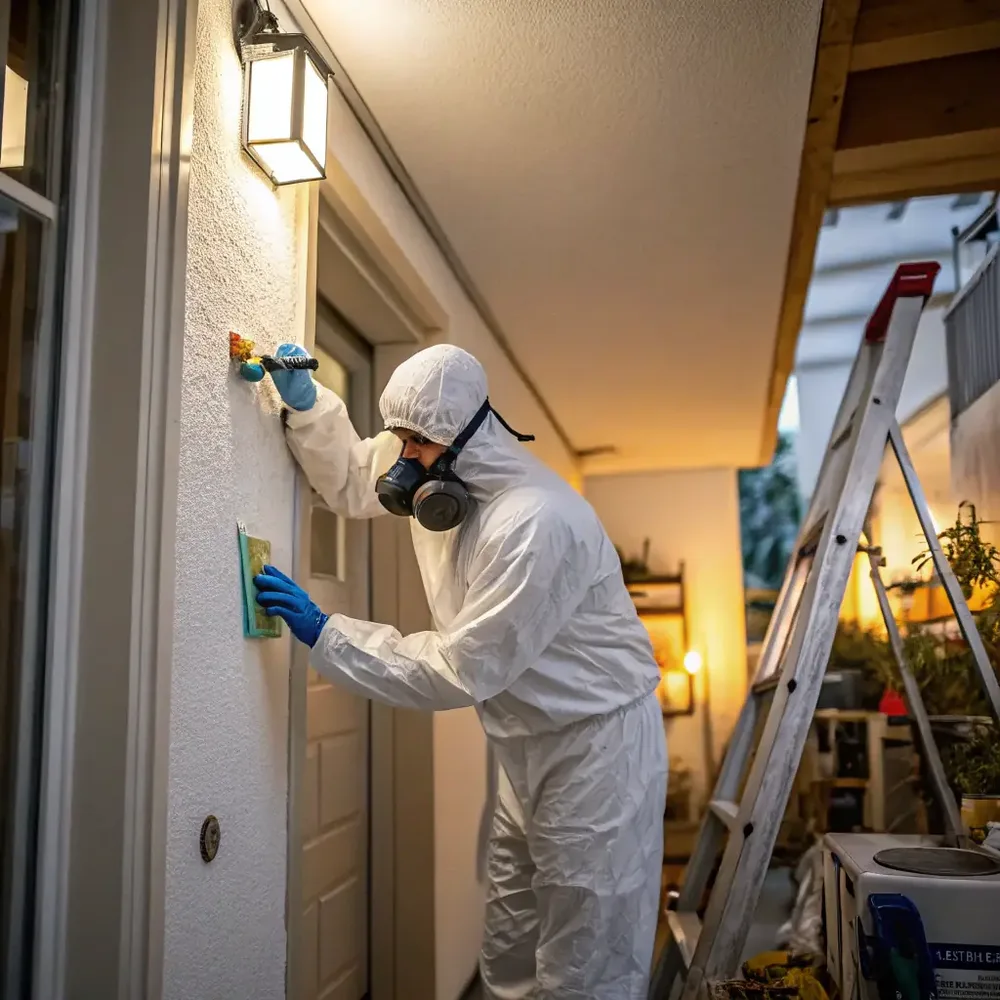
Mold cleanup should be paired with a plan to correct moisture.
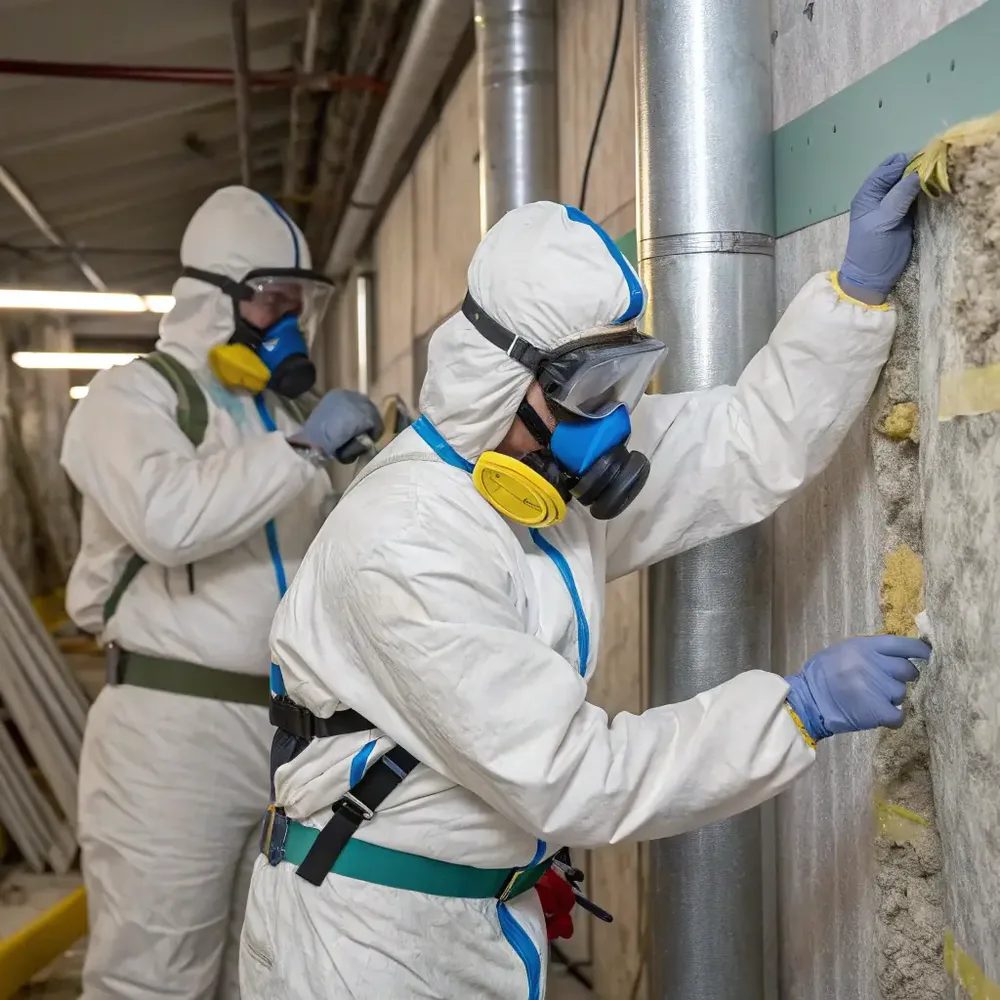
Preparation and access protection are part of a professional job.

Redline Restorations is an Urban Fresh Services LLC company.

A local point of contact helps keep inspection and project communication clear.
How to read project photos
Before-and-after images are useful, but they should show more than a dramatic color change. Look for clean preparation, wall and pier details, sealed seams, protected equipment, drainage access, vent treatment, and routes that allow future service without destroying the liner.
A good project gallery should also explain what was found, what work was included, and what remained outside the scope. As additional original projects are completed, this page should grow into individual case studies with city, problem, inspection findings, solution, materials, and final photos.
The case-study standard
As original project documentation is added, each case study should explain the problem and the reasoning behind the scope rather than posting isolated after photos.
City, general home type, approximate crawl-space layout, odor, water, insulation, humidity, or floor concerns.
Water paths, vapor exposure, air openings, affected materials, access, utilities, and any area not visible.
Preparation, removal, drainage, liner, sealing, equipment, insulation, remediation, and exclusions.
Close photographs of seams, piers, walls, doors, vents, penetrations, drains, pads, and service clearances.
Wide views that show the complete space plus equipment settings, discharge, access, and final cleanup.
Filter, pump, drain, gutter, discharge, liner, and inspection responsibilities explained to the homeowner.
Compare workmanship
The center of a flat floor is the easiest area to cover. Corners, low walls, irregular piers, plumbing clusters, support posts, sump lids, door thresholds, and transitions reveal more about installation quality.